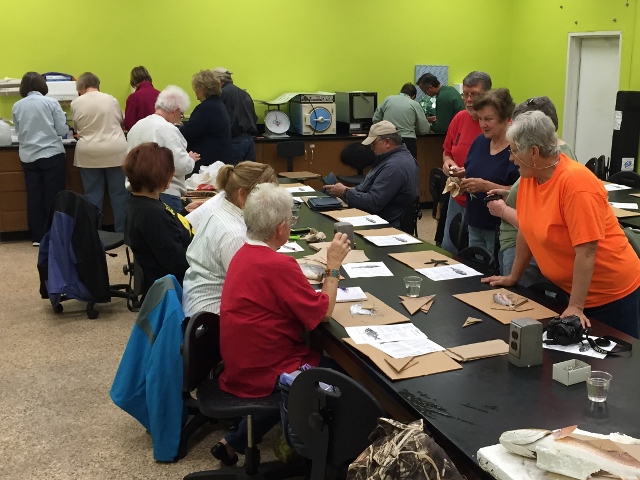
Tony Reisinger’s classes are always fun and entertaining. One of his most popular is fish printing. The classes fill up as soon as they are announced.
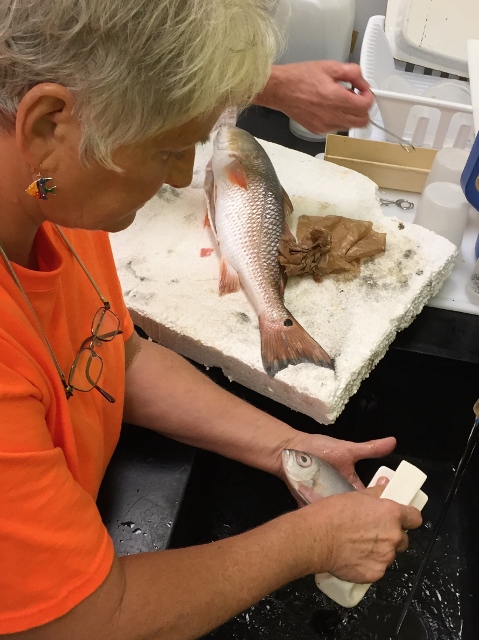
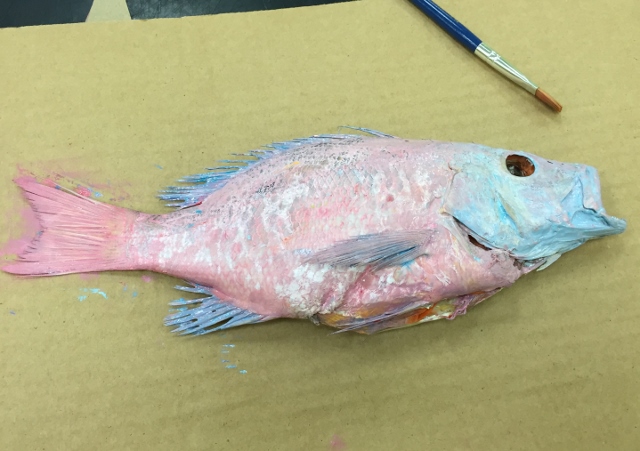
If you’re squeamish, you’ll soon get over it if you just pick up the dead fish, squirt it with dish soap and gently scrub it with a brush — with the scales, not against them. This is a reverent time in which to commune with your chosen aquatic beauty and really appreciate its various colors and hues. Not really, this process removes the fish slime so the paint won’t slide off.
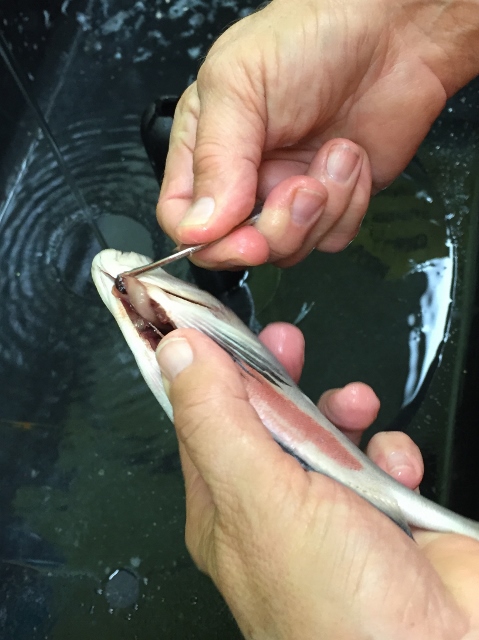
The bad part is cutting out the eye. Yes, the fish is dead, but still . . . . If you’re just assisting at the class, watch Tony do it, then hand class attendees the little scissors, tell them what Tony did and walk away.
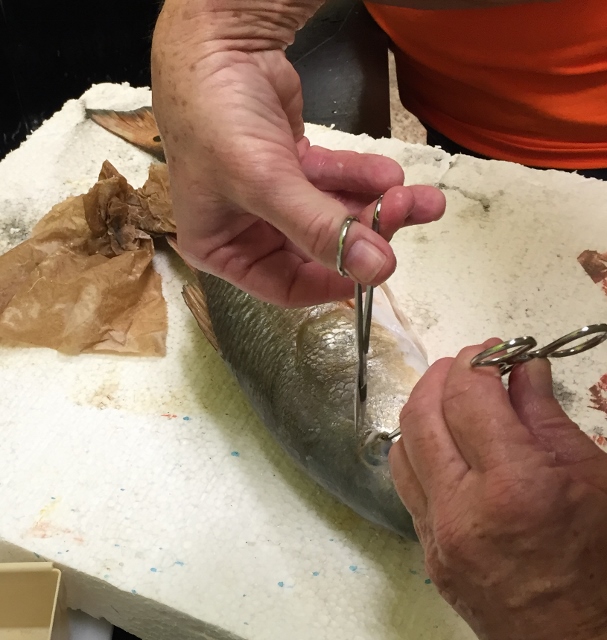
The eye, on the side of the fish you intend to paint, is cut out because if painted, the smooth surface tends to smear, resulting in no definition. Removing the eye allows the traditional painting of it, according to Tony. Right, now that the eye is gone, time to gut the fish. Very simple. Tony is glad to show exactly how to do this. Basically, begin at the anus with the little scissors and cut forward. Remove the innards. There are lab tweezers for this.
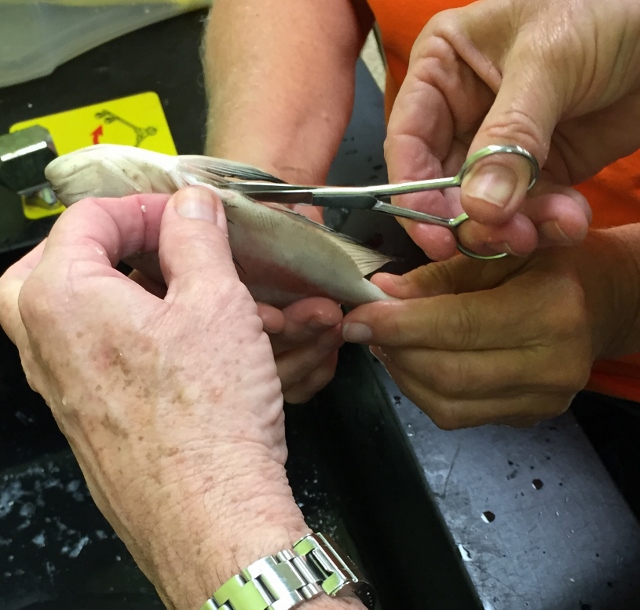
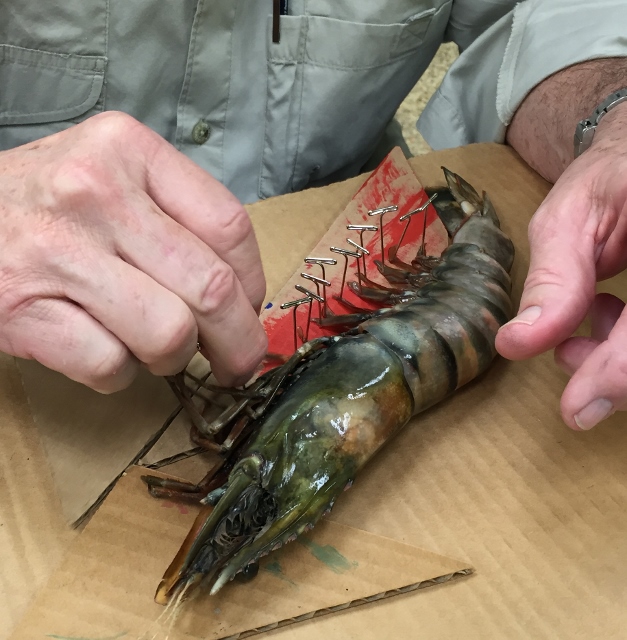
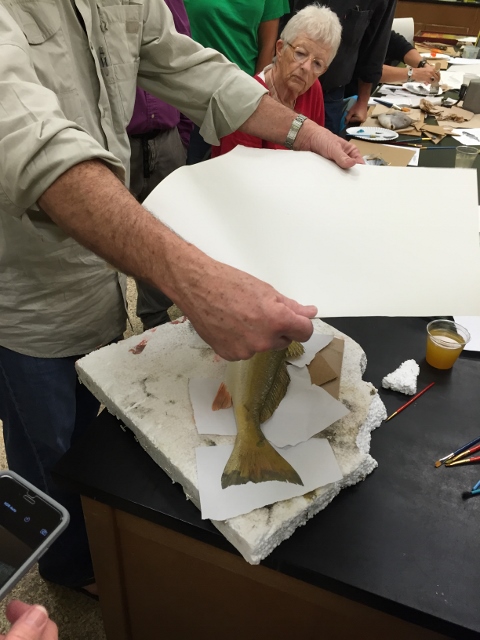
The next step is to stuff some paper towels in where the guts were a few minutes ago, preventing leaks that would ruin your print. You are now ready to lay out the fish on a rectangle of cardboard. Try not to look at the eye socket. With some pretty wicked straight pins, fan out the tail, the spiny and soft dorsal fins, ventral and other fins and other movable parts around the edges of the fish. Poke the pins in the cardboard so the fins hold shape.
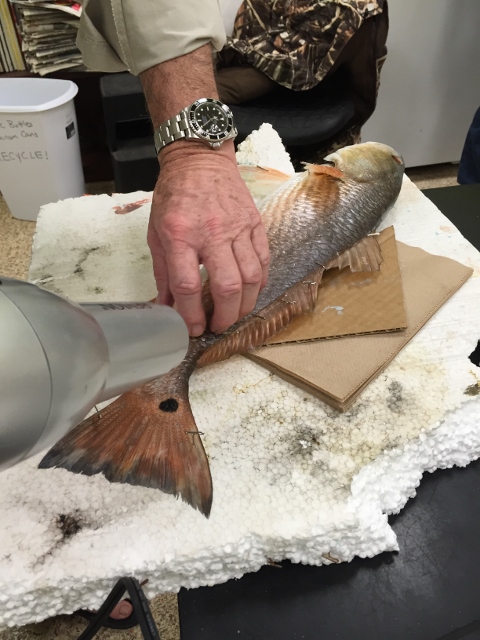
Now, dry the fish – using a hair dryer. This process also is to help paint stay on the fish.
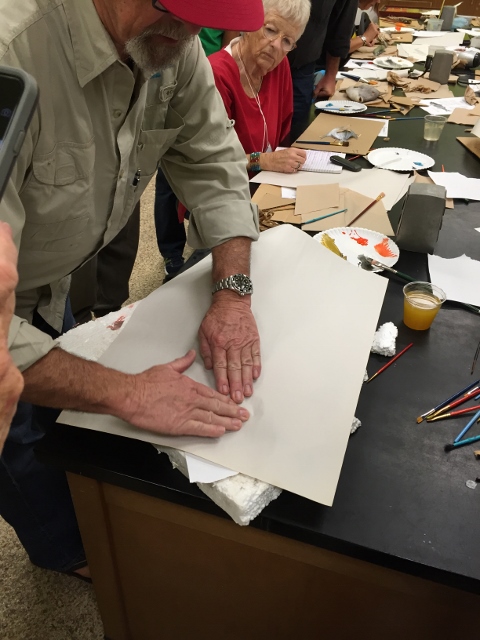
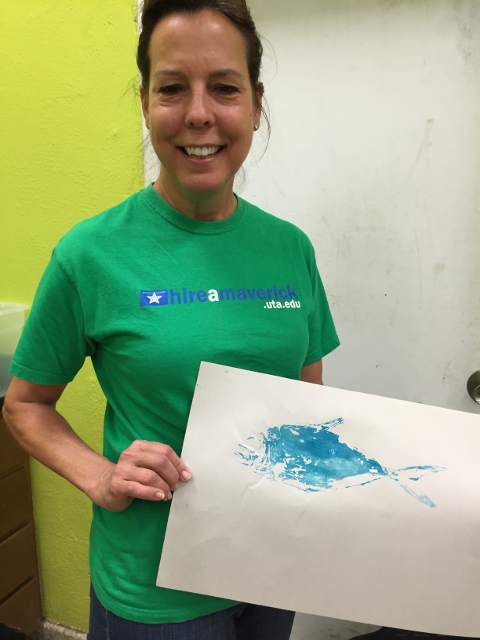
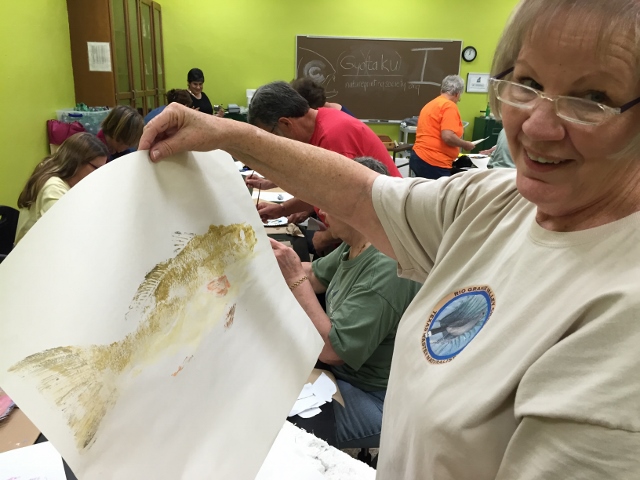
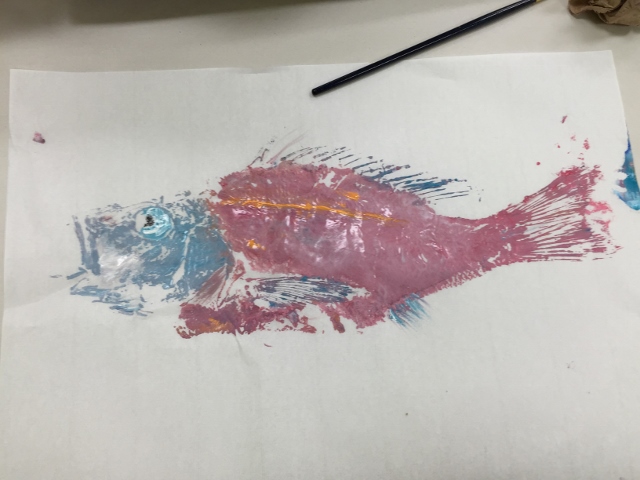
Take a picture with your phone camera if you have one as a reference for later. Remove the pins from around your fish. Choose your paint colors, paint the fish, position your paper above the fish and then gently lay it over the paint. Keeping one hand always on the paper, gently rub over the entire area making sure you press on the tail and all the fins. Remove the paper quickly, but carefully. Voila! You have a fish print.
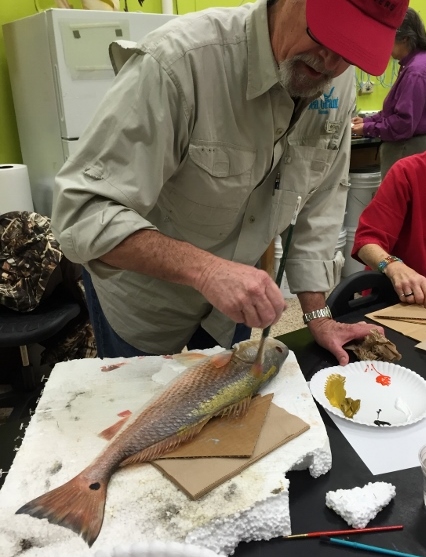
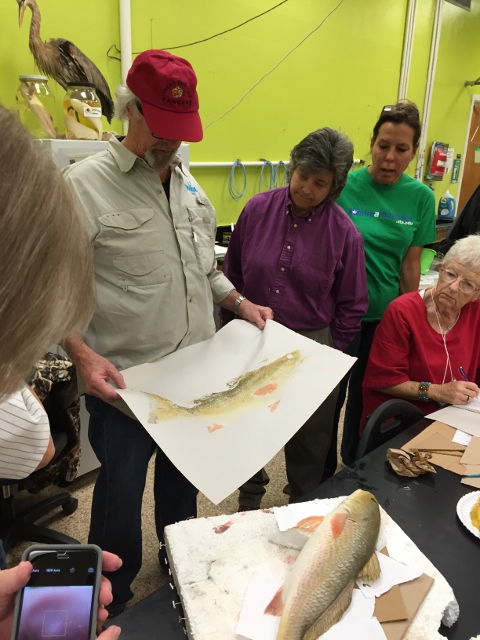
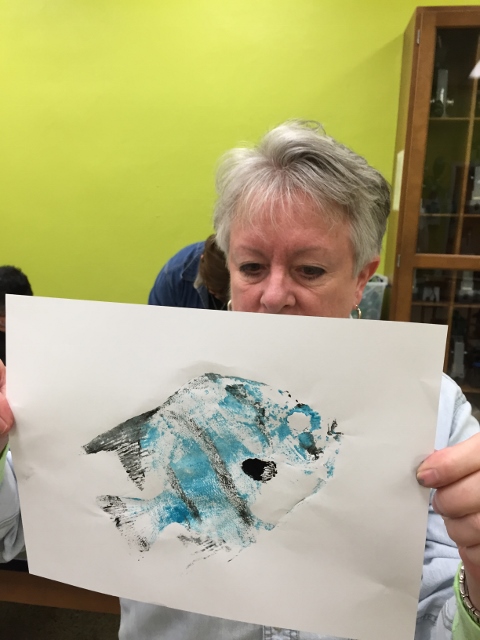
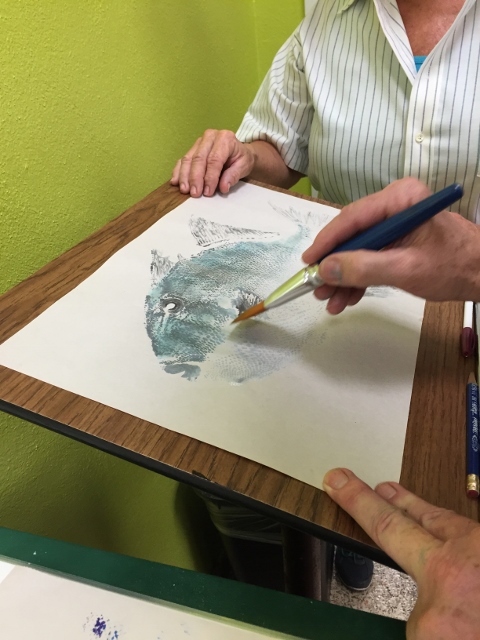
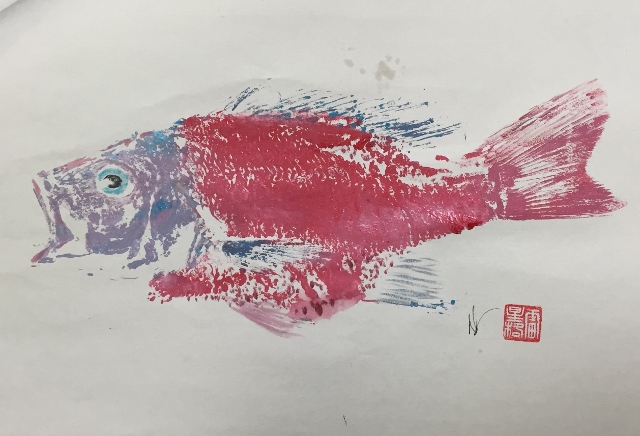
That was the easy part. Now come the artistic touches: adding definition, painting an eye, filling in and outlining any parts that didn’t transfer to the paper.
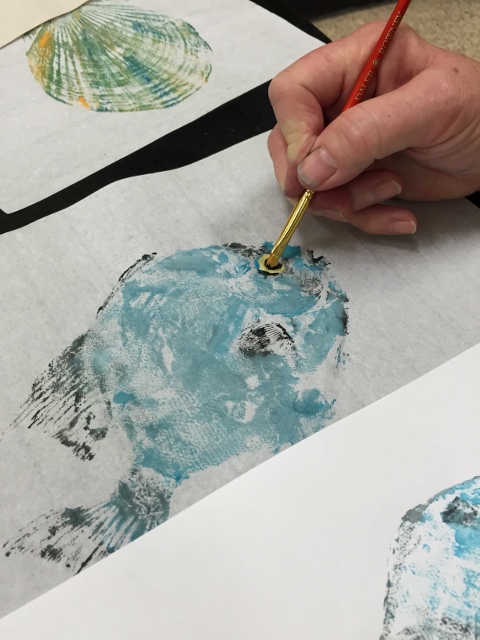
Let the paint dry and then apply a (paint) wash, for further definition.
Get instructor signature and sign your work of art. Wash the paint off your dead fish and put it in the freezer.
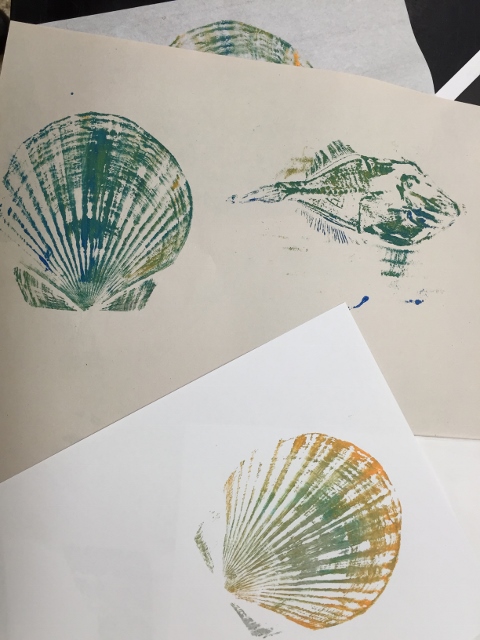
Shells and vegetation also do well with this process.
What a fun class with so many talented artists! Thanks to Anita for documenting it. Let’s do it again soon.